Navigating the complexities of Microsoft Office tools has never been easier with our detailed guide. From understanding the Office Deployment tool to grasping the nuances of the Office Customization Tool, we have all the bases covered. Our guide offers a step-by-step tutorial on using the Microsoft Office Deployment Tool, empowering you to install Office in minutes.
Ready to optimize your workflow even further? Explore our selection of best-selling Office products crafted to cater to a variety of professional needs.
How to Use the Office Deployment Tool
Steps for getting Microsoft Office installed:
-
Download and install the Office Deployment Tool
Download the Office Deployment Tool as a self-extracting executable file from the Microsoft Download Center.
Run the downloaded Office Deployment Tool executable (.exe) file: "officedeploymenttool...exe."
Select a file to store the extracted files.

In this example, we created a folder "ODT" and placed it on the desktop.
You can view the extracted files in the folder.

-
Create & save your configuration file
Visit https://config.office.com/deploymentsettings.
Complete all required deployment settings.
Special cases:
- To install a Microsoft 365 apps plan containing Office 365 ProPlus (Office 365 E3), select Office 365 ProPlus in the "Office Suites."
- For installation on a Remote Desktop (Terminal Server), select "Shared Computer" as the activation option.
Export your file

In this example, we save the sample configuration file name "ODTConfig." We are saving it into the "ODT folder on the desktop.

The screenshot above shows the "ODTConfig" file saved successfully into the "ODT" folder.
-
Run the Office Deployment Tool in Download Mode
Open Command Prompt as Administrator.

Change the directory of the command prompt to the ODT folder using the "cd" command
- cd filepath
- cd C:\Users\User\Desktop\ODT
- In the example above, the download path of the ODT folder is:
- C:\Users\User\Desktop\ODT
- The Command Prompt will now reflect the new directory.
- C:\Users\User\Desktop\ODT>
Run the Office Deployment Tool in download mode.
Enter the following into the Command Prompt or command line tool.
- setup.exe /download ODTConfig.xml
- Setup.exe refers to the name of the file in the destination.
- /download refers to the mode that you are running the tool in.
-
ODTconfig.xml refers to the configuration settings for running the tool in the given mode.
Successfully running the command will create a folder titled "Office" within the destination folder.

Wait for the files to finish downloading. This step may take anywhere from 5 minutes to 1 hour, depending on your internet connection.
You can verify the download is complete by inspecting the size of the "Office" folder and closing and reinspecting the size. If the size has not increased, the download step is complete.
-
Run the Office Deployment Tool in configure mode
Return to the command prompt, and ensure that you are running commands in the target directory.
Run the Office Deployment Tool in configure mode.
Enter the following into Command Prompt:
- setup.exe /configure ODTConfig.xml
- Setup.exe refers to the setup file name in the destination.
- /configure refers to the mode that you are running the tool in.
- ODTConfig.xml refers to the configuration settings for running the tool in the given mode.
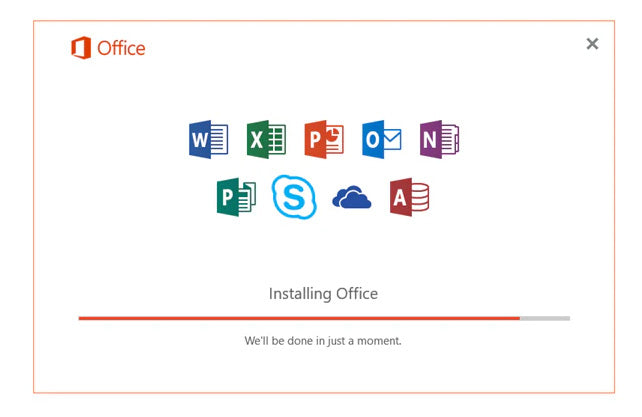
- Successfully running the command will open a window showing Office is being installed.

- Once the Office installation is successful, you can open and use the included programs.
Please see the supporting documentation below, which outlines the steps required to install Office using the Deployment or Office Customization tools.
- Overview of shared computer activation for Office 365 ProPlus
- Overview of the Office Deployment Tool
- Configuration options for the Office Deployment Tool
- Overview of the Office Customization Tool
- Office Customization Tool
Simplify Deployment with Trusted Tech Team
The Office Deployment Tool is a powerful resource that streamlines the process of customizing and deploying Microsoft Office across your organization. By leveraging its flexible configuration options, IT administrators can ensure a consistent and efficient rollout tailored to specific business needs. Whether you're managing installations for a small team or deploying Office across multiple locations, the Office Deployment Tool provides the control and reliability necessary for a smooth operation.
At Trusted Tech Team, we’re here to help you every step of the way. From guiding you through the configuration process to troubleshooting deployment challenges, our experts are dedicated to ensuring your success. Request a quote today and discover how Trusted Tech Team can optimize your Office deployment strategy while saving you time and resources.


